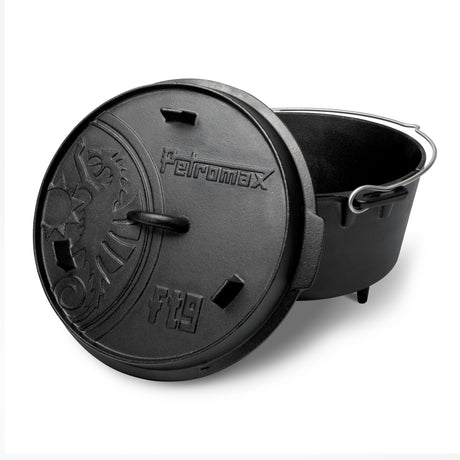
Qu'il s'agisse d'un bon ragoût, d'un pain croustillant ou d'un succulent rôti braisé, le Dutch Oven est l'ustensile polyvalent parmi les casseroles. Mais comment obtenir le feu parfait ? De combien de charbons as-tu besoin et où vont-ils se trouver ? Et honnêtement : est-ce que ça marche aussi sans charbon ?
Dans ce guide, nous te montrons étape par étape comment chauffer ton Dutch Oven de manière optimale - avec ou sans charbon. Plus : des aides intelligentes comme le Petromax Atago et des briquettes qui te facilitent la vie.
Sommaire
Pourquoi la répartition du charbon est-elle si importante ?
Répartition du charbon - les règles empiriques pour chaque plat
Atago & dôme de circulation d'air : ton booster de chaleur
Méthodes de chauffage alternatives pour ton Dutch Oven
Conclusion : la bonne chaleur fait la différence
Pourquoi la répartition du charbon est si importante
Le Dutch Oven est un véritable multitalent, mais le secret d'un vrai bon repas réside dans la répartition de la chaleur. Contrairement au four de la maison, tu ne peux pas simplement régler la température à l'extérieur - ici, tu contrôles la chaleur par le nombre et la position des charbons. C'est ton régulateur de température.
L'art consiste à répartir la chaleur de manière à ce que tes aliments ne brûlent pas, mais ne cuisent pas non plus trop lentement. La règle est donc la suivante : mieux vaut commencer avec moins de charbons et en rajouter si nécessaire. Ainsi, tu restes flexible et ton repas est réussi à coup sûr.
En outre , le temps, le vent et la température extérieure influencent la puissance de chauffage. En cas de vent, tu as besoin de plus de charbon, et de toute façon en cas de gel. Mais ne t'inquiète pas : à chaque aventure culinaire à l'extérieur, tu deviendras plus expérimenté.

Répartition du charbon - les règles générales pour chaque plat
Tous les plats n'ont pas besoin de la même répartition de la chaleur. Selon que tu cuisines, cuisines au four, rôtis ou mijotes, la proportion de chaleur supérieure et inférieure change. Voici les principales règles de base :
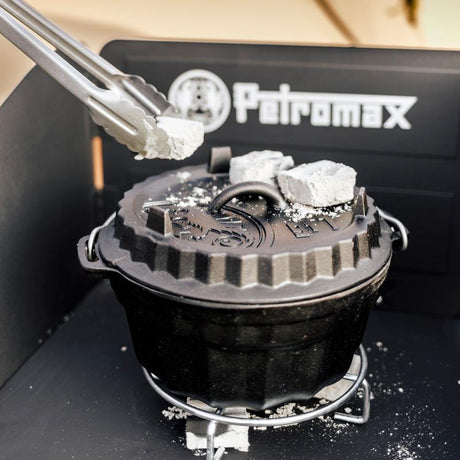
🔥 Cuisson (par ex. ragoût) :
→ 1/3 des briquettes en haut, 2/3 en bas.
🔥 Cuisson au four (par ex. pain, gâteau) :
→ 2/3 en haut, 1/3 en bas
🔥 Braiser (par ex. goulasch, roulades) :
→ 50:50, donc autant en haut qu'en bas
🔥 Rôtissage (par ex. steaks) :
→ Chaleur inférieure uniquement, donc tous les charbons sous la casserole.
Tu répartis ainsi les charbons de manière idéale - et tu veilles à ce que ton plat cuise de manière homogène. Ces règles empiriques garantissent que la chaleur arrive là où tu en as besoin - que tu prépares du chili, du pain ou un rôti braisé.
De combien de briquettes as-tu besoin ?
Le nombre exact dépend de la taille de ton foyer, du type de charbon, du temps et bien sûr de ton plat. Voici une indication approximative :


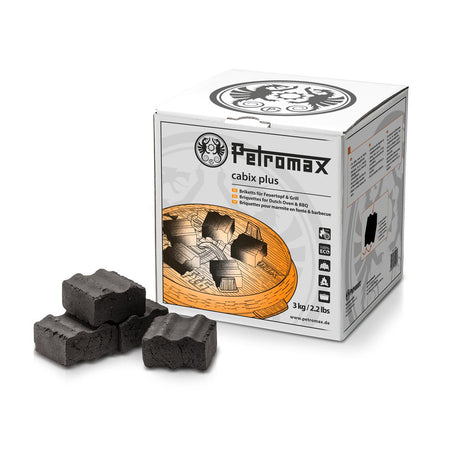
🔍 Conseil: Avec les Briquettes Petromax Cabix Plus tu as besoin de jusqu'à 20 % de charbon en moins - tout en conservant la même chaleur. Les charbons de coco carrés ont de très grandes surfaces d'appui et assurent une parfaite circulation de l'air grâce à leur profil rainuré.

Atago & dôme de circulation d'air: tes boosters de chaleur
C'est encore plus simple avec le Petromax Atago. Le gril massif en acier inoxydable entoure presque entièrement ta marmite à feu et assure un rendement thermique maximal - avec jusqu'à 20 % de consommation de charbon en moins par rapport aux foyers traditionnels. Grâce à sa construction à double paroi, la chaleur reste là où elle doit être : sur la casserole.
C'est encore plus intelligent avec le dôme à air pulsé: il suffit de le placer sur l'Atago et la chaleur reste sous le dôme - sans briquettes sur le couvercle. Parfait pour la cuisson et le braisage, car la chaleur circule comme dans un four à air pulsé. Tu obtiens ainsi une véritable sensation de four en plein air, sans aucune perte de température.
Découvre maintenant le Petromax Atago !

Des méthodes de chauffage alternatives pour ton Dutch Oven
Tu veux faire fonctionner ton pot à feu sans charbon ? C'est aussi possible ! Le charbon est certes le grand classique, mais il existe aussi des alternatives pratiques, surtout si les feux ouverts ne sont pas autorisés ou si tu veux simplement cuisiner à l'intérieur.
🔥1. dans le four
Oui, ça marche ! Tu peux aussi utiliser ton Dutch Oven très facilement dans un four ménager ordinaire:
- Il suffit de le préchauffer (entre 150 et 200 °C selon le plat).
- Mettre le Dutch Oven avec son couvercle dans le four
- Laisser cuire - c'est tout !
C'est particulièrement pratique pour les jours d'hiver, lorsque tu as envie de l'ambiance du Dutch Oven, mais que tu ne veux pas rester dehors.
🔥2. sur la cuisinière à gaz
Si tu es en camping ou qu'il y a une interdiction de faire du feu, la cuisinière à gaz est ta meilleure amie :
- Veille à ce qu'il soit bien stable
- La température est facile à régler
- Idéal pour cuisiner et rôtir, mais aussi pour les plats mijotés rapides
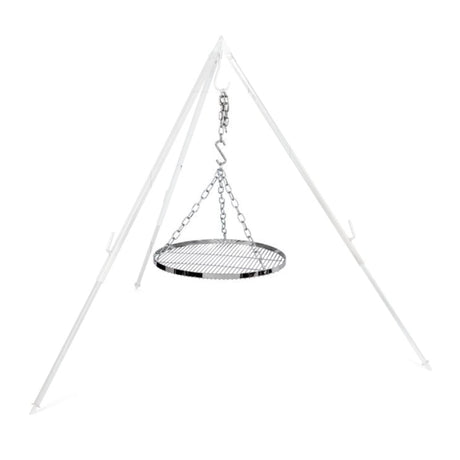
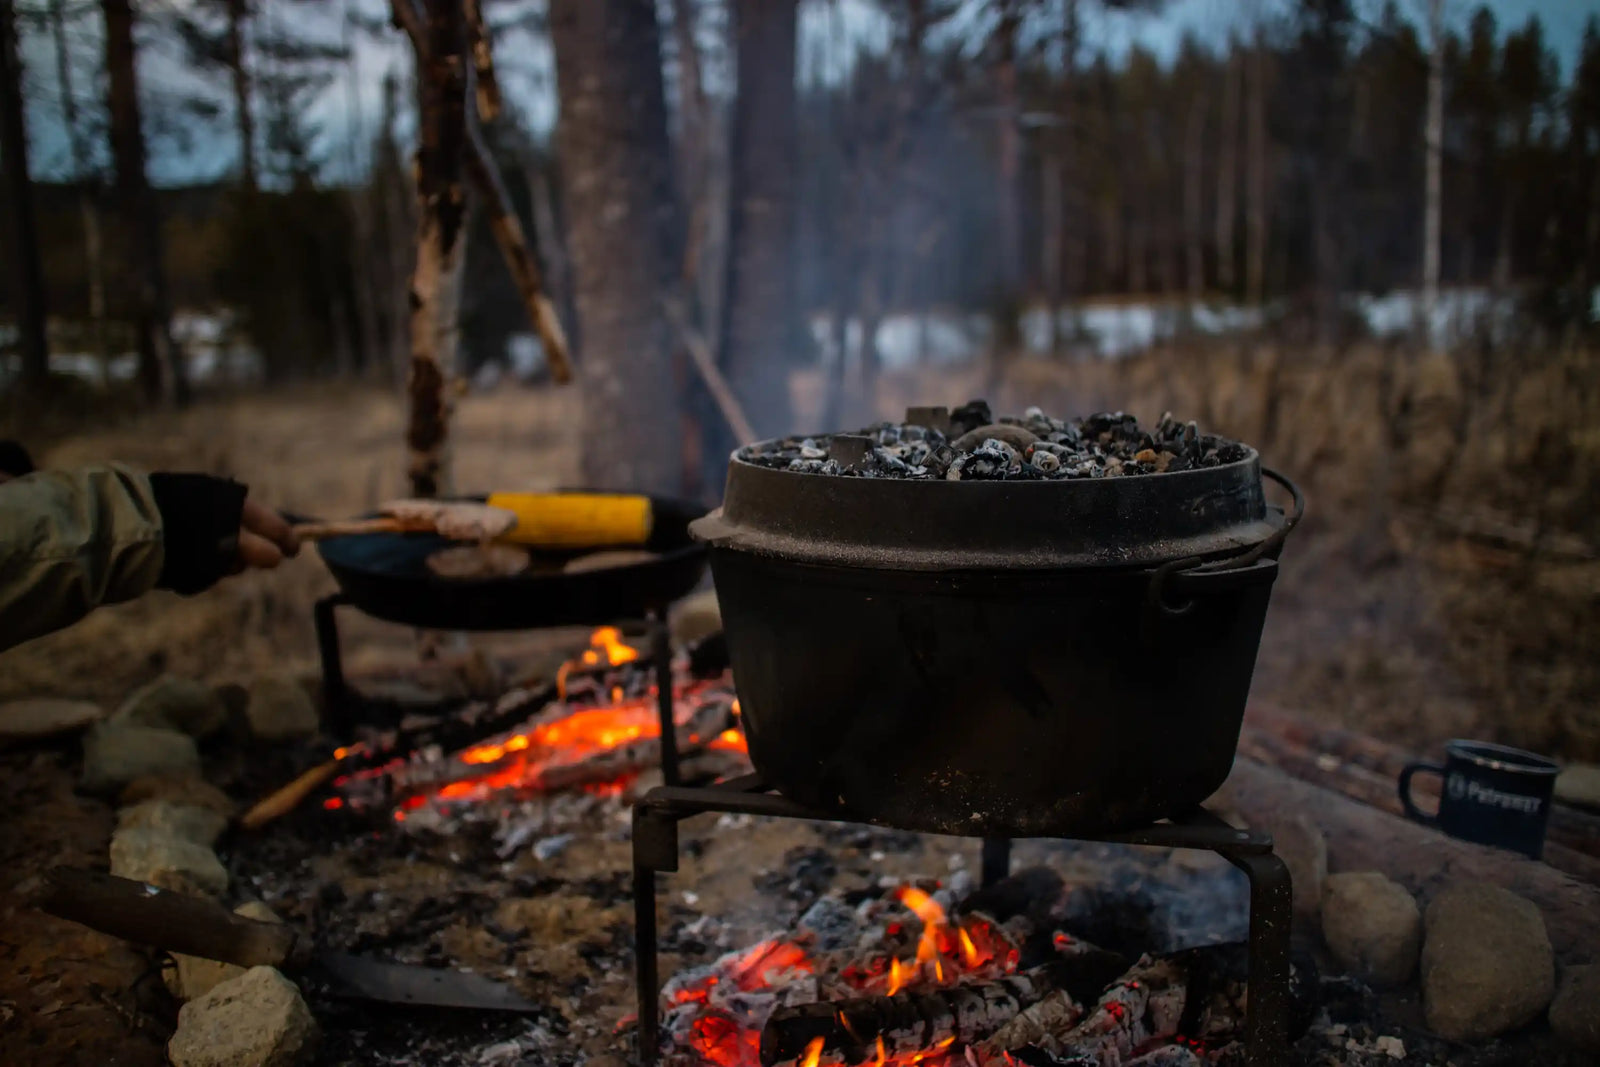
🔥3. dans le bac à feu ou sur le barbecue
Au lieu d'utiliser des charbons, tu peux aussi faire fonctionner ton Dutch Oven sur une vasque à feu ou une grille de barbecue:
- Il suffit de préparer un lit de braises
- Placer le Dutch Oven dessus - c'est tout
- Super adapté aux longues cuissons avec des braises régulières
🔥4. directement dans la braise
Tu veux quelque chose de très original ? Alors, directement dans les braises du feu de camp. Cela demande un peu de pratique, mais donne un goût incomparable - surtout pour braiser ou faire du pain.

Conclusion : la bonne chaleur fait la différence
Que tu travailles avec des briquettes, l'Atago, la coupole à circulation d'air ou dans un four, ton Dutch Oven est aussi flexible que toi. Ce qui est décisif, c'est que tu respectes les règles de base de la répartition du charbon, que tu connaisses tes sources de chaleur et que tu n'aies pas peur de faire des expériences.
Avec les bonnes briquettes, quelques accessoires et un soupçon d'expérience, ton fourneau à vapeur deviendra un véritable génie du plein air. 🔥