
Do you know this too? You're in the middle of nature, enjoying the freedom - but after a long day you'd just like to take a shower without having to go to an official campsite. Don't worry, you can easily solve this problem with a self-built camping shower! In this article, I'll show you how to build your own mobile shower for your motorhome, camper van or tent with little effort.
Table of contents
Why is it worth building your own camping shower?
What materials do you need to build a camping shower?
Pumping systems for camping showers: What options are there?
Installing a shower in a motorhome: Step-by-step building instructions
Waste water solution for the camping shower: what to do with the shower water?
Water heating for your DIY camping shower
What simple camping shower solutions are there for tent campers?
Why is it worth building your own camping shower?
Let's be honest: the shower is an absolute highlight of the day for many of us - why should you miss out on it just because you're on the road? A self-built shower offers you a lot of advantages over purchased solutions. You can adapt it exactly to your needs, save a lot of money and are no longer reliant on the often overcrowded sanitary facilities at the campsite.
Having your own shower is particularly practical if you like wild camping (only where it's allowed, of course!). You will also learn to love your self-built alternative at festivals, where the few showers are usually used by hundreds of people. And even on campsites with limited sanitary facilities, having your own shower is worth its weight in gold.
Depending on your needs and manual skills, there are various options: From super simple solar showers for beginners to permanently installed shower systems for your motorhome, everything is possible. In the next sections, you will find out which system is best for you.

What materials do you need to build a camping shower?
Before you get down to business, you should know what materials you need for your DIY shower. The basic equipment is actually quite straightforward:
- A water canister or tank (5-20 liters, depending on requirements)
- Hoses in various diameters (preferably food-safe)
- A shower head - can also be a simple garden hose attachment
- Fastening material such as cable ties, adhesive tape or hose clamps
- Optional: a pump (depending on the system)
For advanced shower systems, you will also need
- Connections and connectors (available from DIY stores)
- Possibly a solar foil for water heating
- For permanently installed showers: waterproof panels or shower enclosure material
A tip from me: Pay attention to weight and durability when buying materials. Especially if you don't have much storage space, every kilo counts. You can find everything you need in DIY stores - often even in the camping or gardening section. Online stores for camping accessories also have specialized parts on offer.
Pump systems for camping showers: What options are there?
No showering pleasure without pressure! That's why choosing the right pump system is crucial for your camping shower. There are several options:
- Manual pressure pumps: The simplest solution! You pump pressure into the container before showering - similar to a garden sprayer. This option is great for beginners and does not require electricity.
- Foot pumps: One step more convenient. You operate the pump with your foot while showering and have your hands free. Ideal for tent campers with a little more space.
- Electric submersible pumps: The luxury among camping pumps! With a small submersible pump that you place in your water container, you have constant water pressure when showering. However, these pumps need electricity - so they are more suitable for motorhomes or if you have a power bank with you.
For motorhome owners, power consumption is an important factor. Most 12V submersible pumps consume between 1-3 amps - your battery should be able to cope with this. In return, however, you get a much more pleasant shower experience with constant pressure.
During installation, make sure that all connections are watertight and that the pump can be easily switched off when not in use. Regular descaling also extends the service life of your pump.

Installing a shower in a motorhome: Step-by-step installation instructions
If you want to equip your motorhome with a permanently installed shower, it is best to proceed according to the following plan:
- Planning is everything: First, measure exactly where you want to install your shower. Remember that you need space for the shower itself as well as for the water connection and drain.
- Prepare the walls: Attach waterproof panels to the walls or use special shower enclosure materials. Make sure they are well sealed to prevent moisture from entering the vehicle.
- Lay the water connections: Connect the fresh water tank to the shower fitting. Use high-quality, food-safe hoses and make sure the connections are tight. A little tip: hose clamps are better than cable ties for permanent installations.
- Install the shower fitting: Attach the faucet to the wall and connect it to the prepared water pipes. If you want to invest a little more, thermostatic taps are very convenient - they ensure a constant water temperature.
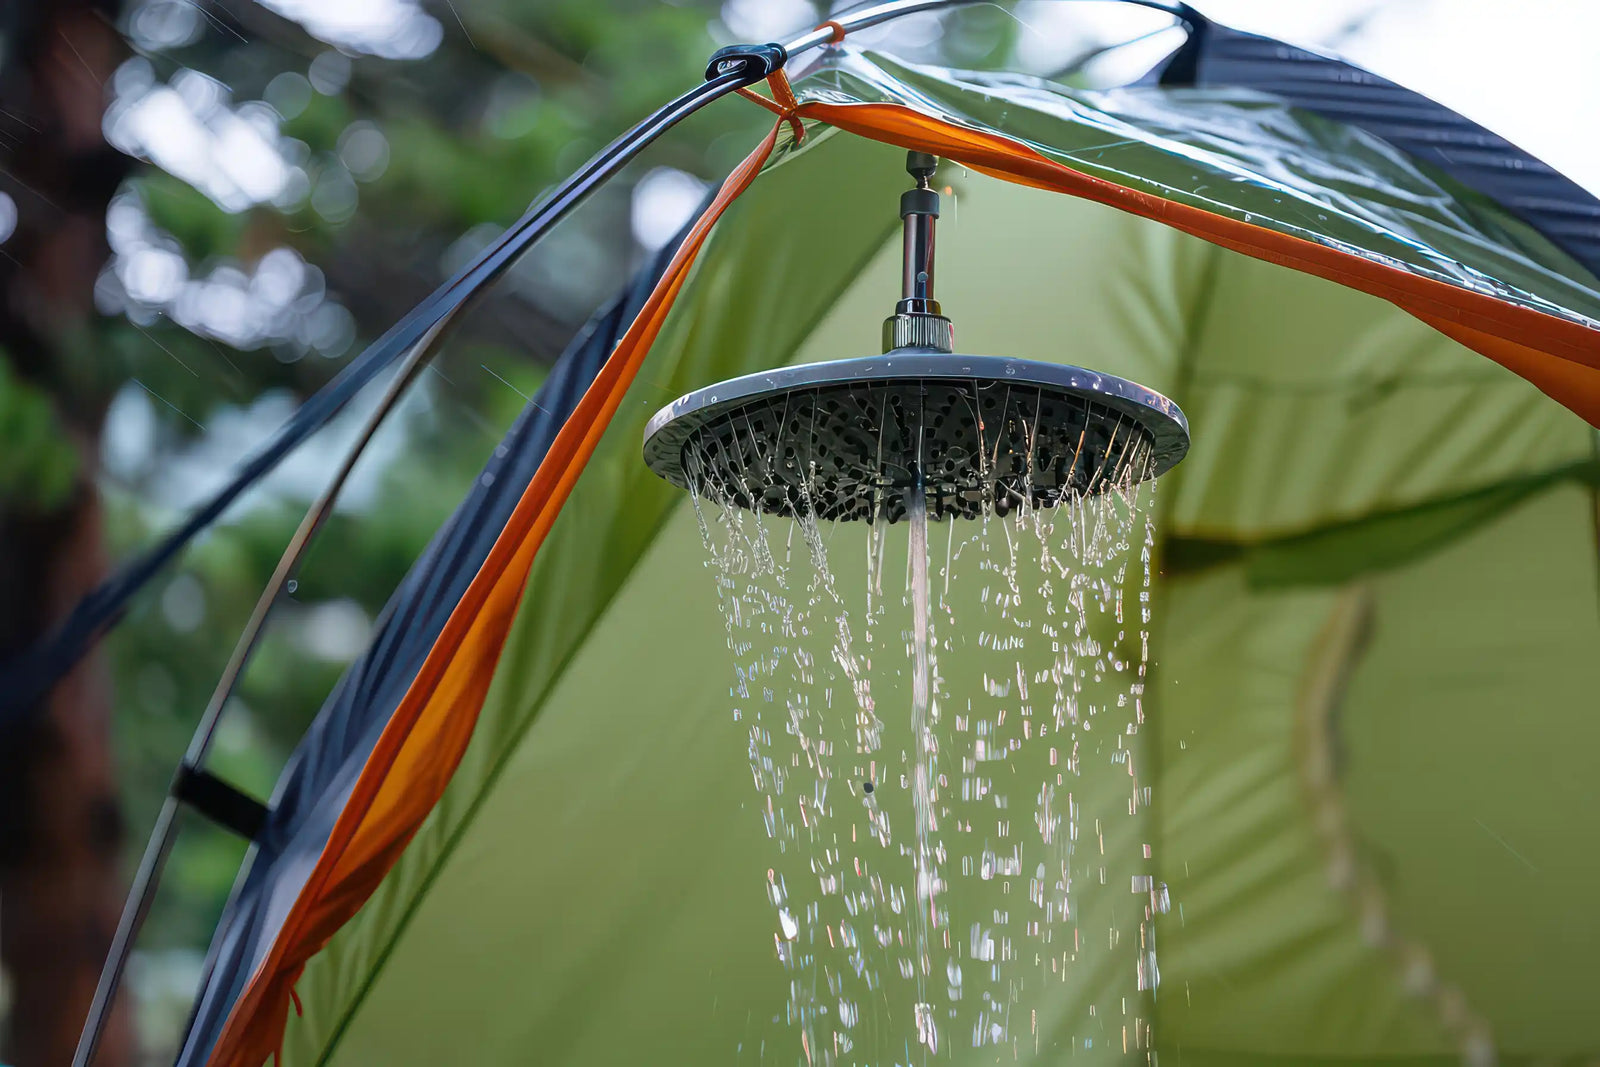
- Attach the shower head: Mount the shower head at the desired height. Here you can choose between a fixed holder or a flexible hand shower.
- Leak test: Before you finally seal everything, be sure to check all connections for leaks! A small leak can cause major damage in a motorhome.
The big advantage of a permanently installed shower is that it is much more convenient and you don't have to set up and dismantle a system every time. However, a fixed shower also permanently takes up space - so think carefully about whether the installation is worthwhile for you.
Waste water solution for the camping shower: where to put the shower water?
A question that many campers underestimate: Where to put all the shower water? Depending on the situation, you have various options:
For motorhomes and campervans:
- Direct connection to the existing waste water tank
- Installation of a separate small waste water tank just for the shower
- Drainage system with sufficient slope to the tank
For tent campers:
- Place a simple drip tray under the shower
- Route the drain hose to a suitable disposal point
- If necessary, use a small submersible pump for removal
When constructing the drain, make sure there is a sufficient gradient - otherwise the water will stand. A slope of at least 2% (2 cm per 1 meter) is ideal. We recommend a hose diameter of at least 20 mm so that the water can drain away easily.
Important: Make sure you find out about the local regulations on waste water disposal! Especially when wild camping, it is not permitted to simply discharge shower water into the wild - even if you only use biodegradable soap.

Water heating for your DIY camping shower
What could be better than a warm shower after a long day of hiking? You have various options for heating water:
Solar shower: The most environmentally friendly option! A black water bag or canister is placed in the sun and heats the water without any additional energy. After a few hours in the sun, the water can become surprisingly warm. Disadvantage: You are dependent on the weather.
Gas-powered instantaneous water heater: The convenient solution for motorhome owners. These appliances provide hot water at the touch of a button, but require a gas connection and good ventilation. There are now compact models specially designed for camping vehicles.
Electric immersion heaters: A simple solution if you have electricity available. The heating rod is inserted into the water tank and heats the water. But be aware of the high power consumption!
Heat exchanger systems: For the technology pros among you. These use the waste heat from the motor to heat the water - super efficient, but somewhat more complicated to install.
The following applies to all hot water systems: safety first! Ensure that gas installations are installed correctly and serviced regularly. For electrical systems, a residual current circuit breaker (RCD) is an absolute must!

What simple camping shower solutions are there for tent campers?
Are you camping with a tent and have little space for bulky equipment? No problem! There are also super simple shower systems for tent campers:
The classic solar shower: a black plastic bag with a shower head that you fill, place in the sun and hang up later. This solution costs little, can be folded up small and weighs almost nothing. Perfect for beginners!
PET bottle shower: You can even make a mini shower out of an old PET bottle! Simply drill small holes in the lid, fill the bottle with water and turn it upside down. You can attach it to a branch with a rope.
Pump shower from the gardening section: Small pressurized sprayers for plants are available at DIY stores - these can easily be converted into a camping shower. With a few modifications to the spray head, you have a practical little shower.
With all of these solutions, the attachment is important: a sturdy branch, a telescopic pole or the roof racks of your car are good suspension points. With a small privacy tarpaulin and a little creativity, you can conjure up a functional shower area.
Pro tip for minimalist showers: With 5 liters of water, you can shower yourself completely if you use it efficiently! Always switch off the water flow between soaping up and rinsing off - this will save you valuable water.
Now you're all set to build your own camping shower! With a little craftsmanship and the right materials, nothing stands in the way of your showering pleasure in the great outdoors. Whether it's a simple solution for tent campers or a comfort shower for motorhomes - you decide how much luxury you want on the road.
Do you already have experience with self-built camping showers? Feel free to share your tips and tricks in the comments! I look forward to hearing from you and wish you lots of fun building and showering in the great outdoors!