
The art of lighting fires without the use of tools - a skill that has accompanied humans for 400,000 years and sets us apart from all other living creatures. But while our ancestors started fires from scratch every day, we modern humans are often helpless when lighters or matches fail.
High time to change that! In this practical guide, we delve into the fascinating world of natural fire techniques and introduce you to 5 methods that still work today. We explain not only the how, but also the why - which method is best when, which materials do you really need and how do you overcome the most common hurdles? Whether you're an outdoor enthusiast, budding bushcrafter or simply curious about ancient knowledge - these skills will fill you with pride and could be invaluable in an emergency.
Table of contents
The right preparation
Method 1: The fire-drilling kit
Method 2: Fire with flint and steel
Method 3: The fire magnifying glass
Method 4: The fire plow method
Method 5: The fire bow
The right fuel
Avoiding common mistakes
Conclusion
The right preparation
Before you even start making a fire, you need the right materials. Preparation is the be-all and end-all when making a fire. With the wrong materials, you can rub for hours and are more likely to drill a hole in your hand than start a fire.
What you need:
- Dry tinder material (birch bark, dry grass, thistle wool)
- Small twigs and branches of various sizes
- A dry place sheltered from the wind
- A lot of patience (really!)
Remember: In Germany, open fires are prohibited in the forest! Only practise these techniques on official fireplaces or in your garden.

Method 1: The fire drill set
The fire drill kit is probably the best-known method of making a fire without modern tools. It works on the principle of frictional heat. This ancient technique has been used by indigenous peoples around the world and has proven itself over thousands of years.
Advantages: You can find the materials you need almost anywhere in nature. You only need two pieces of wood and some tinder. This method works in any weather, as long as your materials are dry, and is independent of external factors such as sunlight.
Disadvantages: Drilling requires a lot of strength, stamina and practice. It can be frustrating if it doesn't work straight away. Many beginners give up before they have mastered the right technique. In addition, choosing the right type of wood is crucial - with the wrong wood, you can drill for hours without success.
When best suited: This method is particularly well suited to real survival situations or when you have no other tools to hand. It is ideal for practicing and perfecting, because if you master fire-drilling, you can start a fire in almost any conditions.
Here's how it works:
- Find a flat piece of dry wood to use as a base (preferably softwood such as poplar or lime)
- Make a small hollow in the base
- Cut a small notch from the edge to the hollow
- Use a straight stick (approx. 30 cm) made of hardwood as a drill bit
- Place the drill bit in the hollow and turn it quickly between your palms
- When smoke appears, you've almost done it!
- Collect the ember dust with a blade under the notch
- Carefully place the ember dust in your tinder nest and gently blow into it
This method requires a lot of practice and perseverance. Don't give up if it doesn't work the first time!

Method 2: Fire with flint and steel
This method makes use of the fact that when steel is struck hard on flint, small, extremely hot metal particles are rubbed off, which can reach temperatures of over 1500°C as sparks. Historically, this technique has been widely used in Europe since the Iron Age and was part of the basic equipment of every household until the 19th century.
Advantages: The spark method is much more reliable and less strenuous than friction methods. With a little practice, you can light a fire within minutes. The materials - once procured - are durable and can be used hundreds of times. Plus, this method works in almost any weather, even rain (if your tinder is protected).
Disadvantages: You need to find or bring the right materials. Real flint is not available everywhere, and not every piece of metal is suitable as a striking steel. Success also depends heavily on the quality of your tinder - normal dry grass or leaves rarely catch fire from sparks alone. You will need specially prepared tinder such as tinder sponge or charred cloth.
When best suited: This method is ideal for anyone who is regularly out and about and wants a reliable fire starting system without modern tools. A small flint set fits in any trouser pocket and is much more robust than a lighter - it will still work years later, even if it gets wet.
Here's how it works:
- Hold the flint over your prepared tinder nest
- Swipe the steel along the flint to create sparks
- The sparks should fall onto the tinder material
- Blow carefully as soon as the tinder material starts to smoulder
Tip: Charred cloth or tinder sponge is particularly suitable as tinder for this method.

Method 3: The fire magnifier
The fire magnifier uses concentrated rays of sunlight to heat fuel to ignition temperature. It is probably the oldest unintentional method of creating fire - since time immemorial, accidentally focused rays of light may have caused fires through drops of water or naturally polished stones.
Advantages: This method is by far the most energy-saving. You don't have to rub or strike, just hold a focal point steady. It is also comparatively quick - in optimal conditions you can produce embers in seconds. What's more, you don't need any special equipment if you're wearing glasses or have a water bottle with you.
Disadvantages: The biggest disadvantage is obvious: without direct sunlight, this method doesn't work at all. You can forget about it on cloudy days, at dusk or at night. It also requires a very steady hand to hold the focal point precisely and works best with dark tinder material.
When best suited: The fire magnifier is perfect for sunny days and for beginners who want to experience their first success with primitive fire making. It is ideal as a backup method for hikers who have a water bottle or goggles with them anyway. It's also great for educational purposes with children as it gives quick results and the principle is easy to understand.
Here's how it works:
- Take a pair of glasses, a magnifying glass or a transparent bottle filled with water
- Focus the sun's rays on one point of your tinder material
- Hold the focal point steady until smoke rises
- Blow carefully to ignite the embers
This method works best with black-colored or charred tinder, as dark materials absorb heat better.
Method 4: The fire plow method
The fire plow method is a friction method that uses a linear rather than rotating motion. This technique was particularly common in Polynesia and Australia and is easier for some to implement than drilling.
Advantages: The fire plow method is ergonomically more comfortable for many people than the rotating motion of fire-drilling. The movement is similar to sawing and uses larger muscle groups. You also need less specific material - a flat board and a stick will suffice. The linear movement is also easier to learn than the steady rotary motion of drilling.
Disadvantages: Although the motion can be more comfortable, you still need a lot of stamina and strength. The frictional heat generated is spread over a larger area, making it sometimes more difficult to create a concentrated glowing point. It can also be tricky to collect the resulting ember dust efficiently.
When best suited: This method is best if you're not comfortable with fire-drilling or if you can't find the necessary materials for an arch. It's also good if you have injuries to your hands that would make turning painful, or if you want to learn the versatility of different fire-making techniques.
Here's how:
- Take a flat piece of wood as a base
- Make a groove in the middle
- Rub a stick back and forth along the groove
- Ember dust collects at the end of the groove
- Transfer this to your tinder nest
Method 5: The fire bow
The fire bow is an ingenious development of the fire drill set and has been used by many indigenous cultures around the world, especially by the Native Americans. It combines the principle of drilling with a simple tool that dramatically increases efficiency.
Advantages: The Fire Bow's greatest strength lies in its mechanical efficiency. The leverage of the bow allows you to produce many more revolutions with less force. You can last longer because your muscles don't tire as quickly. The bow also enables a smoother and faster rotation, which significantly increases the likelihood of success. The rotation speed can be up to five times higher with a good arc than with manual drilling.
Disadvantages: Making a working bow requires more preparation and materials. You need a suitable string that is not too elastic, and you have to make sure that the drill bit is stable in the bow. The coordination of all components - bow, drill, handpiece, base - is challenging at the beginning. It is also important to find the right tension for the string.
When best suited: The fire-bow is the method of choice if you want to master the principle of fire-drilling but don't have the physical stamina for the manual method. It's also great for longer stays in the wilderness, as it's more reliable and offers less potential for frustration. For serious bushcraft enthusiasts, it is often the preferred method that produces consistent results with regular practice.
Here's how:
- Build a bow from a bendy branch (approx. 60 cm) and string
- Wrap the string around your drill once
- As with the fire drill set, prepare a base with a hollow and notch
- Place the drill bit in the hollow and hold it in place at the top with a handpiece (e.g. a piece of wood or stone)
- Move the arc back and forth so that the drill turns quickly
- You can drill much longer and faster through the arc than with your hands
- Collect the resulting ember dust under the notch again
- Transfer the embers to your tinder nest
The advantage of this method: You don't tire as quickly and generate a higher speed. Perfect for beginners who still have difficulties with classic drilling!

The right fuel
As soon as you have a glowing point, the art of fire building comes into play:
- Tinder: wafer-thin, super dry materials such as: Birch bark, thistle wool, dry grass, dry moss (but not green!)
- Small wood: Thin twigs, no thicker than a match
- Medium wood: branches the thickness of a pencil
- Firewood: thicker branches for a lasting fire
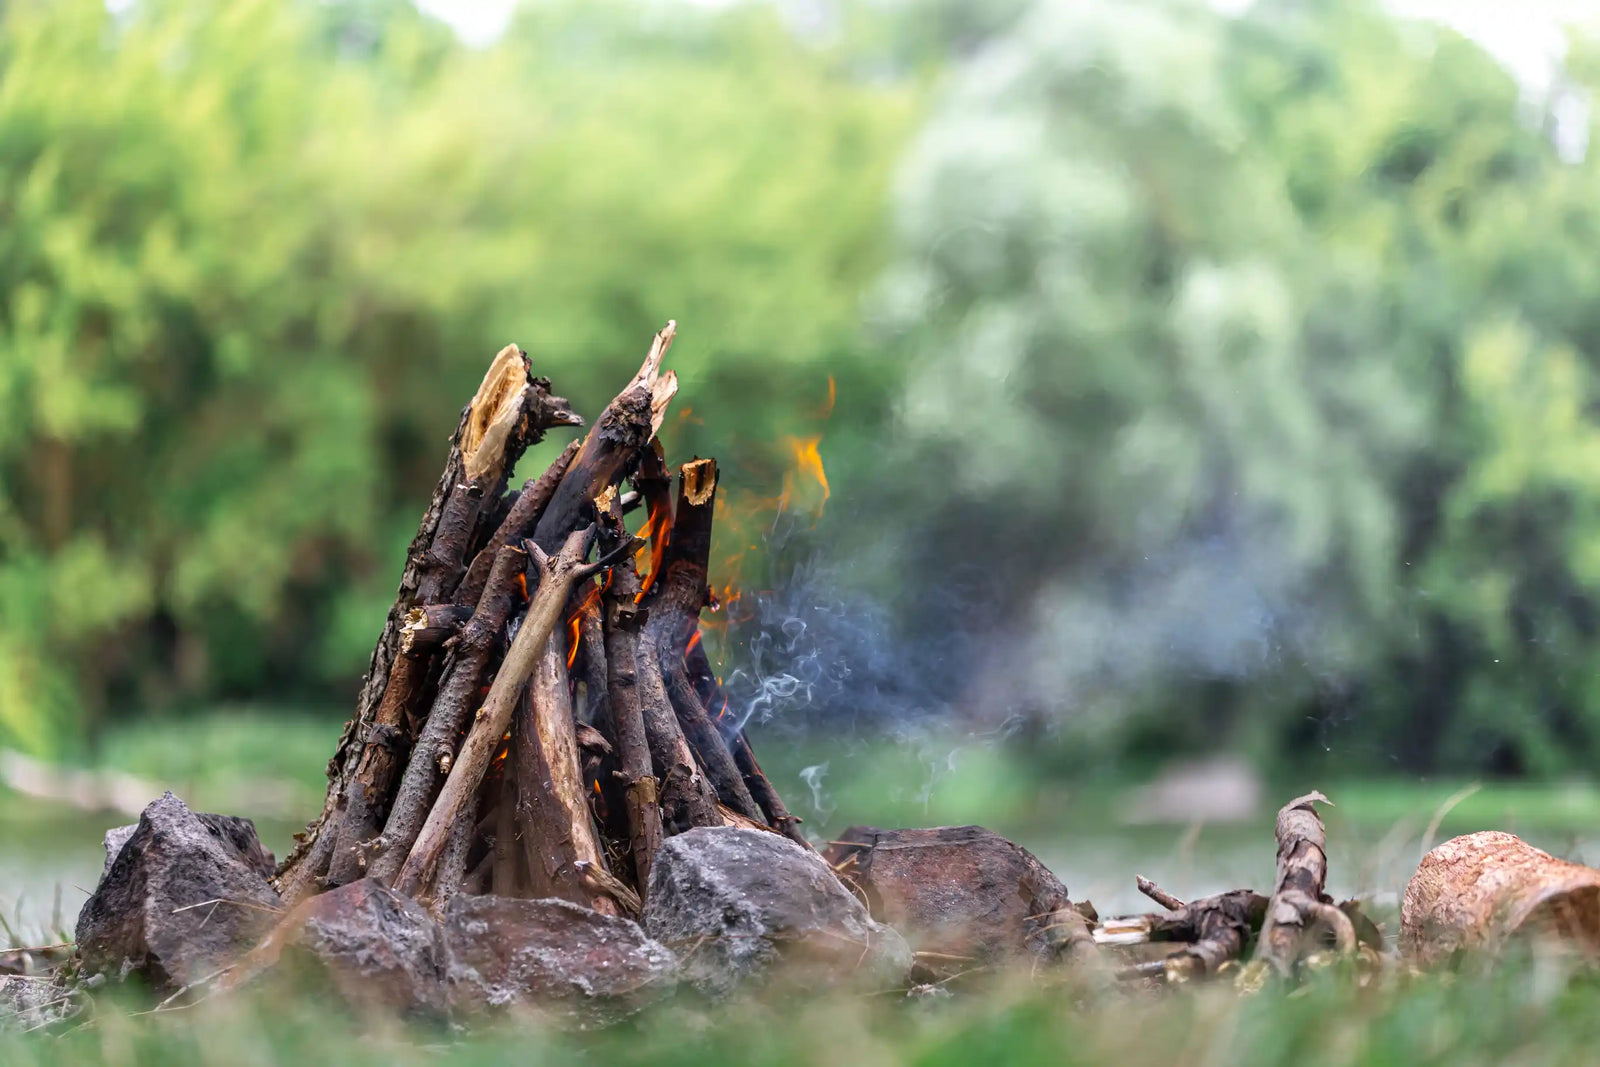
Build your fire like a pyramid - from very thin to thicker and thicker.
Avoid common mistakes
- Material that is too damp: everything must be bone dry!
- Too little patience: Primitive fire methods take time and practice
- Too much fuel at once: suffocates the young flame
- Wrong types of wood: Softwoods for quick burners, hardwoods for permanent embers
- Forgetting safety: Always remember fire protection!

Conclusion
Making a fire without a lighter is an art that requires practice. But the feeling when you create a flame with your own hands for the first time is indescribable! It connects you with our ancestors and shows you that you can get by in nature without modern technology.
Start with the fire magnifying glass on sunny days - this is the easiest method. Then you can try the other techniques. With a little practice, you will soon be able to start your own fire without modern aids!
Important: Always pay attention to your surroundings and the legal regulations when lighting a fire in nature. Open fires are prohibited in most German forests - so use official fire pits or practise in your own garden.
Have you ever made a fire without a lighter? Which method worked best for you? Let us know in the comments!
This article is for educational purposes only. Please always observe the local regulations for lighting fires in nature. The responsibility lies with you as the user of these techniques.