
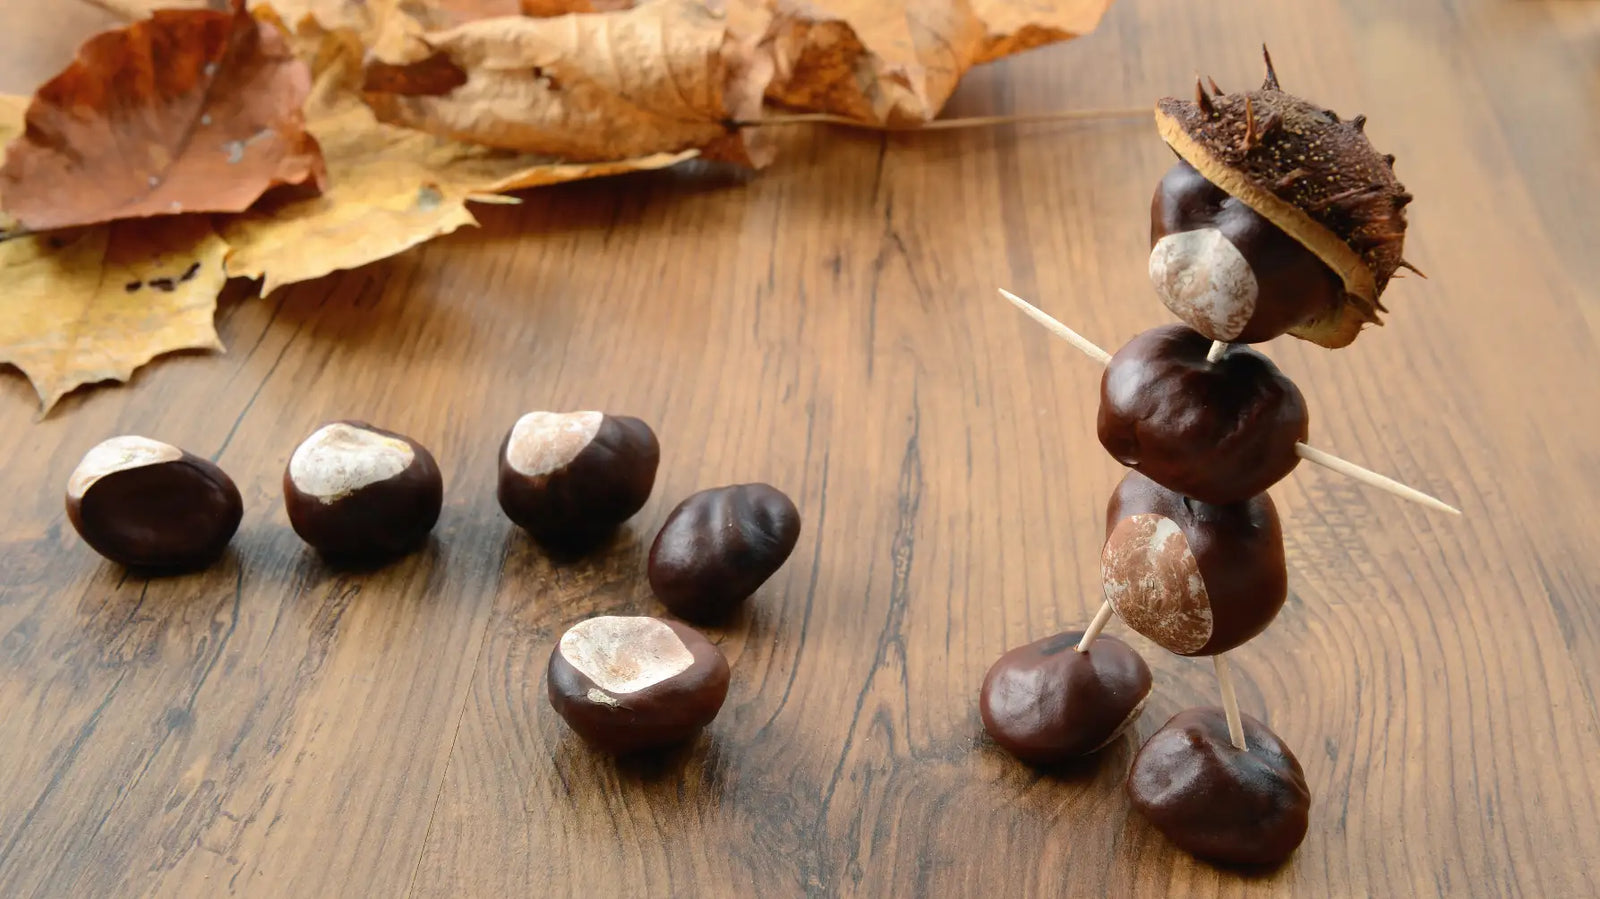
When autumn comes and the first chestnuts fall from the trees, the best crafting season of the year begins for many of us. With the shiny, brown chestnuts, countless figures, animals, and even small works of art can be created. Whether you go out with your children to collect chestnuts or you yourself want to get creative – crafting with chestnuts is just fun and brings a real piece of autumn home.
Table of contents
What makes crafting with chestnuts so special for children?
What materials do you need for simple chestnut craft ideas?
How to make classic chestnut figures step by step?
Which cute chestnut animals can you easily craft?
What are the best tips for crafting with younger children?
Conclusion
What makes crafting with chestnuts so special for children?
Chestnuts are the perfect natural material for crafting. They lie around everywhere in autumn, have a pleasant feel, and already spark the imagination while collecting. For children, collecting is a little adventure – and at the same time the first step toward their own craft project. The chestnut brown color and smooth surface make each chestnut a little natural work of art.
When crafting with chestnuts, children learn playfully how to handle natural materials. It promotes their fine motor skills because the little balls have to be held carefully, drilled, and put together. At the same time, they practice their creativity when a simple chestnut suddenly turns into a little man, an animal, or a colorful figure.
It’s also a total hit educationally: kids get a feel for shapes, develop patience, and train hand-eye coordination. And honestly – it’s just really fun when a self-made artwork ends up on the table.

What materials do you need for simple chestnut craft ideas?
Of course, the chestnuts themselves are the stars. But to build real figures from them, you need a few simple craft supplies. You probably already have most of the materials at home. Here’s a small overview:
| Material | What you need it for | Tip |
|---|---|---|
| Toothpicks | To connect the chestnuts | Always have a few extras ready – they break easily. |
| Hand drill | To drill small holes | Turn gently, don’t press. |
| Matches | For arms, legs, or accessories | You can paint the head end colorfully. |
| Wiggle eyes | Make every figure more lively | Available cheaply at the craft store. |
| Glue | For fixing parts | Craft glue is often enough, for adults also hot glue. |
| Acrylic paint | For painting | Lasts better than watercolors. |
| Natural materials | Acorns, leaves, dried moss | Perfect for autumn details. |
Safety instructions for drilling: You should take over drilling the holes as an adult. Chestnuts are still soft at first but quickly become hard. It’s best to drill the holes right after collecting them while the chestnuts are still fresh.
Preparing chestnuts properly
Before you start, let the chestnuts dry for a few days. Fresh chestnuts are easy to work with but shrivel quickly. Dried ones last longer – so your crafts will survive the whole autumn.
| Step | Description | Tip |
|---|---|---|
| 1. Collecting | Choose shiny, intact chestnuts | No wormholes! |
| 2. Sorting | Sort by size and shape | Large for body, small for heads |
| 3. Drying | Let dry in the air for 1-2 days | Not too long, or they get too hard |
| 4. Drilling | Pre-drill holes with a hand drill | Work slowly and carefully |

How to make classic chestnut figures step by step?
The chestnut figure is an absolute classic and a must-have in any craft collection! We’ll show you a detailed guide for the traditional chestnut figure:
What you need:
- 2 large chestnuts (for head and body)
- 4 smaller chestnuts (for arms and legs)
- Toothpicks or matches
- Hand drill
- Wiggle eyes
- Glue
Step-by-step instructions:
- Drill holes: Carefully drill four holes in the large chestnut for the body – two on the sides for arms and two at the bottom for legs. Drill one hole at the bottom for the head. To keep your figure stable, drill the leg holes slightly angled outward. This way it won’t tip over so easily.
- Make connections: Drill completely through the smaller chestnuts for arms and legs. Stick the toothpicks through and connect them to the body.
- Attach the head: Stick a toothpick from the body upwards and attach the head on it.
- Create the face: Glue on the wiggle eyes and draw a smile with a felt-tip pen.
Pro tips for sturdy chestnut figures:
- Sharpen toothpicks for better hold
- Don’t drill holes too big
- Fix with a drop of glue if needed
- Use matches as an alternative to toothpicks

Which cute chestnut animals can you easily craft?
Chestnut animals are especially popular with kids! From cute hedgehogs to funny caterpillars – the imagination knows no bounds. Here are our favorite chestnut figures:
The chestnut hedgehog: A true classic! Take a large chestnut and stick many toothpicks in as spines. Glue two small wiggle eyes on the front and you have a cute hedgehog. It’s especially adorable with a small acorn as a nose!
The chestnut caterpillar: Simply string together several chestnuts of different sizes. Connect them with toothpicks and you have a funny caterpillar. The front chestnut becomes the head with wiggle eyes.
Creative chestnut animal ideas
| Animal | Required chestnuts | Special materials |
|---|---|---|
| Hedgehog | 1 large | Lots of toothpicks, acorn |
| Caterpillar | 3-5 different | Pipe cleaners as antennae |
| Spider | 1 large | 8 thin twigs as legs |
| Owl | 2 (head + body) | Felt for wings |
| Snail | 1 large | Modeling clay for house |
Halloween special: Chestnuts are also great for spooky Halloween decorations! Paint them black and orange or glue on little paper vampire teeth.
Combination with other natural materials:
- Acorns as noses or hats
- Small twigs as legs or arms
- Dried leaves as wings
- Moss as decoration

What are the best tips for crafting with younger children?
When crafting with children, safety comes first. Especially when drilling is involved, adults should help. But for younger children, there are many simple craft ideas that work without sharp tools:
- Paint chestnuts with craft glue and decorate with colorful paper.
- Simple craft ideas for kids where chestnuts are just glued or painted.
- Figures that only need to be stuck together and don’t require drilling.
Crafting isn’t about everything looking perfect—it’s about the kids having fun. If you give them a little help, unique little artworks will emerge.
Conclusion: Crafting with chestnuts simply makes you happy!
Crafting with chestnuts is a wonderful way to creatively enjoy the autumn season. The natural materials not only boost your children’s creativity but also create unforgettable moments together.
From classic chestnut figures to cute chestnut animals to spooky Halloween decorations—the possibilities are endless. The most important thing is that you and your kids have fun and let your imagination play.
So grab a basket, go chestnut collecting with your kids, and let your creativity run wild. The shiny brown treasures are waiting to be turned into little works of art!
The key points summarized:
- Chestnuts offer endless creative possibilities for autumn craft projects with kids
- Simple materials like toothpicks, glue, and paints turn chestnuts into charming figures
- Classic chestnut figures remain timeless favorites for craft afternoons
- Chestnut animals and Halloween decorations greatly expand the creative range
- Age-appropriate instructions make crafting accessible for children of all ages
- Proper collecting and preparing of chestnuts is the foundation for successful craft projects
- Crafting with natural materials promotes creativity and a connection to nature alike


