
Whether it’s coffee for the commute, tea on a hike, or cold drinks in summer—a thermal mug is practical and used almost daily. But to keep it with you for a long time and ensure your drinks always taste fresh, you should clean it regularly and thoroughly. In this article, we’ll show you how to properly clean thermal mugs and flasks, which home remedies work best, and what to watch out for with different materials.
Table of contents
Why is proper cleaning of thermal mugs so important?
How do you properly clean a thermos flask?
What to keep in mind with thermos flasks with glass inserts?
Which home remedies are best for cleaning a thermal mug?
How do you remove stubborn odors and residues?
Are thermal mugs dishwasher safe?
Summary of key points
Why is proper cleaning of thermal mugs so important?
Maybe you’ve experienced it yourself: you open your thermal mug and are hit by an unpleasant smell. This happens when bacteria and even mold settle inside. It happens faster than you think, especially with milk or sweet drink residues. Regular cleaning not only keeps your mug hygienic but also protects your health.
A clean thermal mug has even more benefits: thorough cleaning keeps the taste neutral—you won’t taste old coffee when you pour in tea. Plus, you extend your mug’s lifespan by protecting the coating and preventing deposits that could damage the material.

The main reasons for thorough cleaning at a glance
Health considerations
Bacteria and even mold can quickly develop inside an uncleaned thermal mug. The warm, moist conditions inside are a paradise for microorganisms. It’s especially problematic if you drink milk-based beverages like cappuccino or hot chocolate. These residues provide ideal nutrients for bacteria.
Material protection and durability
Proper cleaning significantly extends the life of your thermal mug. Harsh cleaning agents or incorrect care can damage the coating and reduce insulation performance. A well-maintained thermal mug can serve you faithfully for years.
Neutral taste
Nothing’s worse than morning coffee tasting like yesterday’s tea! Thorough cleaning prevents flavor transfer between different drinks. That way, every drink tastes just as it should—without unwanted flavors from the day before.
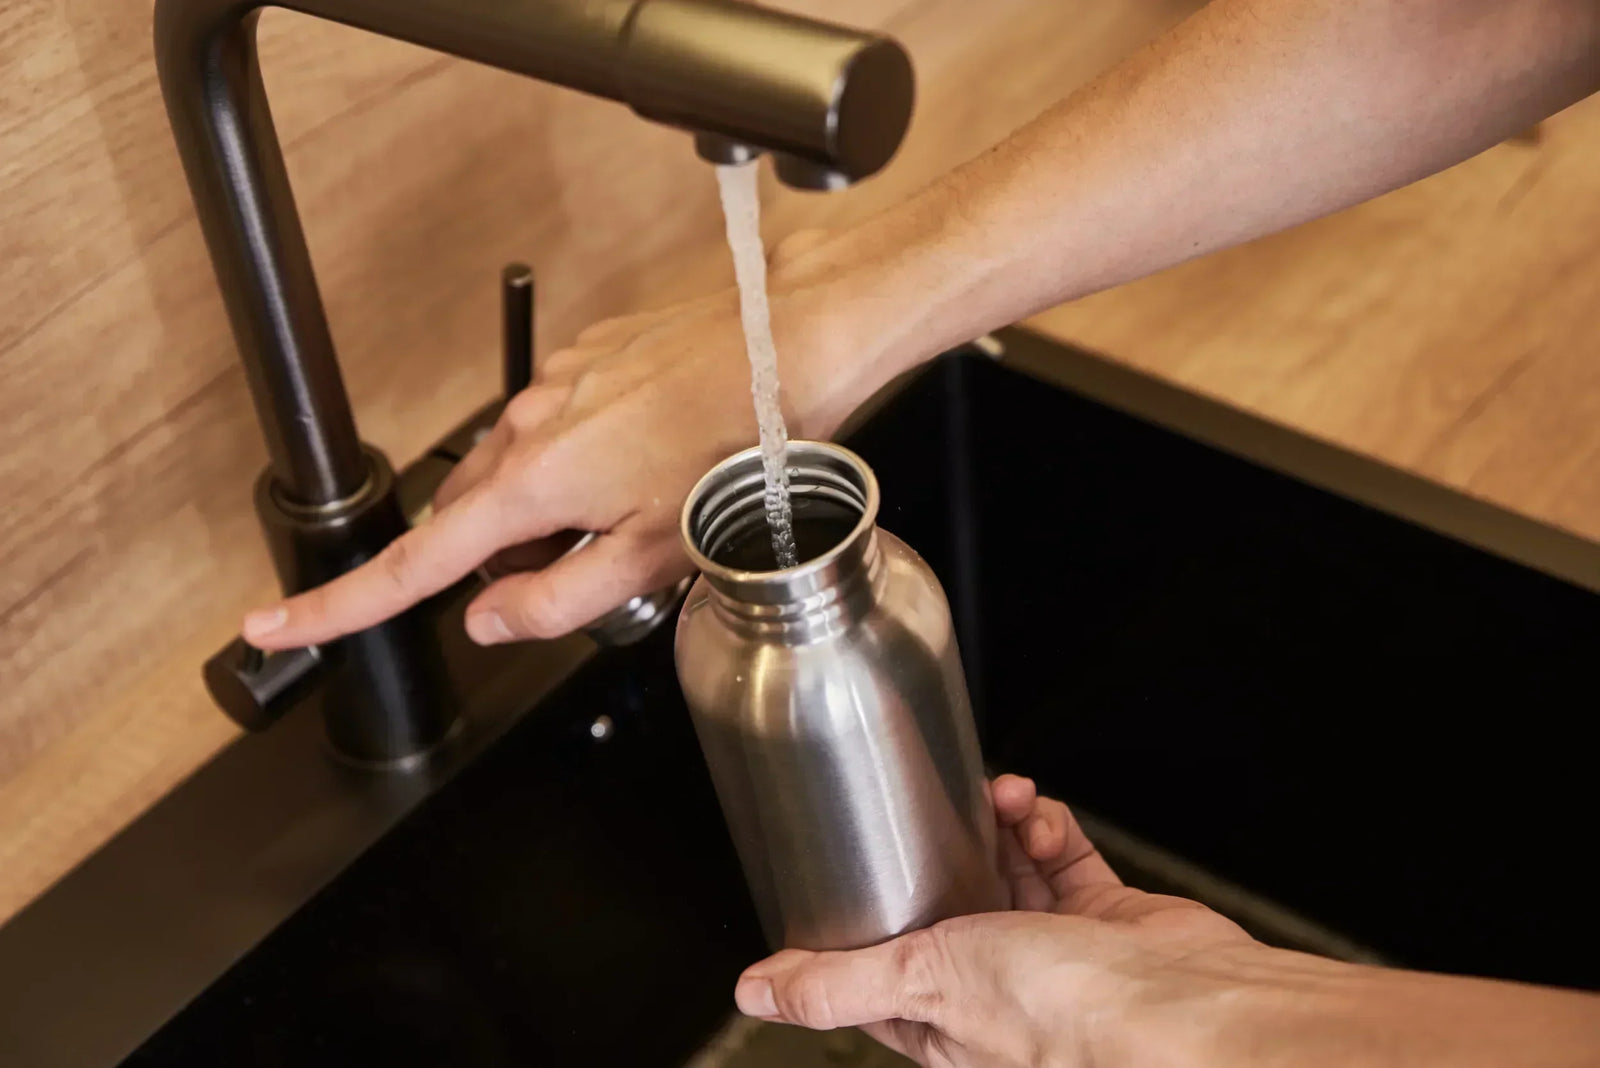
How do you properly clean a thermos flask?
Thermos flasks, especially those made of stainless steel, are sturdy, but they still need proper care. It’s important not to use harsh detergents or abrasive sponges when cleaning, as these can damage the coating.
The right way to clean your thermos flask depends crucially on the material. Here you’ll learn how to do it without damaging the coating.
Special features of stainless steel thermos flasks
Stainless steel thermal mugs are sturdy and easy to care for, but they have their quirks. The material is scratch-resistant but can become dull or stained if treated incorrectly.
Basic rules for stainless steel:
- Never use scouring cream or steel wool
- Avoid chlorine-based cleaners
- Always rinse thoroughly afterward
Step-by-step cleaning instructions
How to clean your thermal mug properly:
| Step | Procedure | Important notes |
|---|---|---|
| 1 | Rinse immediately after use | Prevents residue from drying out |
| 2 | Fill with warm water and mild dish soap | Not too hot – can damage seals |
| 3 | Let sit for 10-15 minutes | For stubborn stains, wait longer |
| 4 | Clean with a soft brush or sponge | Circular movements from inside to outside |
| 5 | Rinse thoroughly with clear water | Do not leave any dish soap residue |
| 6 | Let dry completely | Leave open for better air circulation |
Taboo list to avoid scratches and damage:
- Scouring pads with rough surfaces
- Harsh chemicals like bleach
- Metal objects for scraping
- Extremely hot water over 80°C
What to keep in mind with thermos flasks with glass inserts?
Thermos flasks with a glass insert are more delicate. Cleaning must be especially gentle here, as the insert can be easily damaged. Even shaking too hard or using the wrong brush can cause the glass to crack.
Therefore: better to rinse carefully and rely on gentle home remedies. Warm water with dish soap or a mixture of hot water and some baking soda works well for cleaning. Disassembling and carefully reassembling is also important to avoid residue.
Precautions:
- Never pour cold water into hot glass thermos flasks
- Slow, gentle movements when cleaning
- Don’t grip too tightly when holding
Suitable cleaning methods
Especially gentle methods are suitable for glass inserts:
- Use lukewarm water (not hot!)
- Soft cleaning brushes with long bristles
- Mild dish soap without harsh additives
- Gentle swirling instead of vigorous scrubbing

Which home remedies are best for cleaning a thermal mug?
You don’t need expensive special cleaners – simple home remedies are perfectly sufficient and gentler for you and your thermal mug.
| Home remedies | Application | Effect |
|---|---|---|
| Baking powder | 1–2 tsp in the mug, pour hot water over, let soak for several hours | Dissolves deposits and neutralizes odors |
| Baking soda | Use like baking soda or mix into a paste with water | Powerful all-rounder against dirt and odor |
| Vinegar | Mix with hot water, let sit briefly | Removes limescale deposits and freshens up |
| Citric acid | Powder or freshly squeezed, use with hot water | Especially effective on stubborn stains |
Combined use of home remedies
You can also combine different home remedies – for example, baking soda and vinegar. It fizzes a lot but ensures an extra thorough cleaning result.
| Problem | Home remedy combination | Soaking time |
|---|---|---|
| Strong odors | Baking soda + lemon juice | 2 hours |
| Limescale + grease | Vinegar + baking soda | 1 hour |
| Discolorations | Baking soda + hot water | Overnight |
How do you remove stubborn odors and residues?
Sometimes regular cleaning isn’t enough, for example if a stubborn odor or residue has set in. Then a longer soaking time helps: simply fill with hot water mixed with baking soda or vinegar, let it sit for several hours or even overnight, then rinse thoroughly.
You can also help out with a soft brush. This will remove even the last residues. Just make sure not to use a brush that's too hard, so you don't damage the surface. Finally, rinse thoroughly and let the mug dry open – this prevents new odors or mold from forming.

Are thermal mugs dishwasher safe?
The question on everyone's mind: Can I just put my thermal mug in the dishwasher? The answer is: It depends!
Whether a thermal mug is dishwasher safe depends on the model. It's best to check the manufacturer's information. Many stainless steel mugs can go in the dishwasher, but you should be careful with coated models. The heat and detergent can damage the coating.
Even if your thermal mug is dishwasher safe, hand washing is often worth it: it’s gentler and extends the life of your mug.
Follow manufacturer instructions
Most important rule: Always check the manufacturer’s instructions first! Not all thermal mugs are dishwasher safe, even if they look sturdy. The manufacturers know their product best and provide clear recommendations.
Typical markings:
- Dishwasher safe symbol (plate with water drops)
- "Dishwasher safe" label
- Temperature indications (e.g., "up to 65°C")
Differences by material and design
| Material | Dishwasher safe? | Special features |
|---|---|---|
| Plain stainless steel | Usually yes | Use upper rack |
| Stainless steel with coating | Often no | Coating can suffer |
| With glass insert | No | High risk of breakage |
| Plastic outer shell | Conditionally | Can deform |
| With electronics/display | Never | Water damage |
Summary of key points
To keep your thermal mug lasting long and always working perfectly, here are the key points at a glance:
Regular cleaning is essential: Clean your thermal mug thoroughly after each use to prevent bacteria buildup and unpleasant odors. A quick rinse isn’t enough!
Home remedies are often enough: You don’t need expensive special cleaners. Baking powder, baking soda, and vinegar are effective and gentle alternatives to chemical cleaners. They’re affordable, eco-friendly, and usually already in your home.
Material determines cleaning method: Stainless steel thermoses and those with glass inserts require different care approaches. Learn about your specific model and treat it accordingly.
Follow manufacturer instructions: Not all thermal mugs are dishwasher safe. Always follow the manufacturer's guidelines to avoid damage and keep your warranty valid.
For stubborn stains: Longer soaking times and gentle mechanical help can remove deposits. Patience is often more important than force here.
Complete drying: After cleaning, the thermal mug should dry completely to prevent mold growth. Leave it open so air can circulate.
With these tips, your thermal mug will stay clean, odor-free, and functional for a long time. That way, you can enjoy your favorite drinks to the fullest every single day!


